
How to add Botsonic ChatBot to the WordPress website in 2024?
Would you like to know how to integrate Botsonic into your WordPress website for a more streamlined communication experience with your audience?
Incorporating Botsonic into your WordPress website is an easy process.
Unlock the full potential of Botsonic’s integration with your WP website by following this comprehensive guide at Bot Sonic.
Step-By-Step Guide To Create Botsonic Chat Bot
Discover the step-by-step guide to effortlessly integrate Botsonic Chat Bot into your WordPress website with the comprehensive guide available at Bot-Sonic.com!
Step 1: Account Creation
If you don’t have an account yet, visit Writesonic.com/Botsonic and complete your account creation process.
Step 2: Chat Bot Creation
Once you are in. To make a new bot, choose “New Bot” on the Botsonic platform.
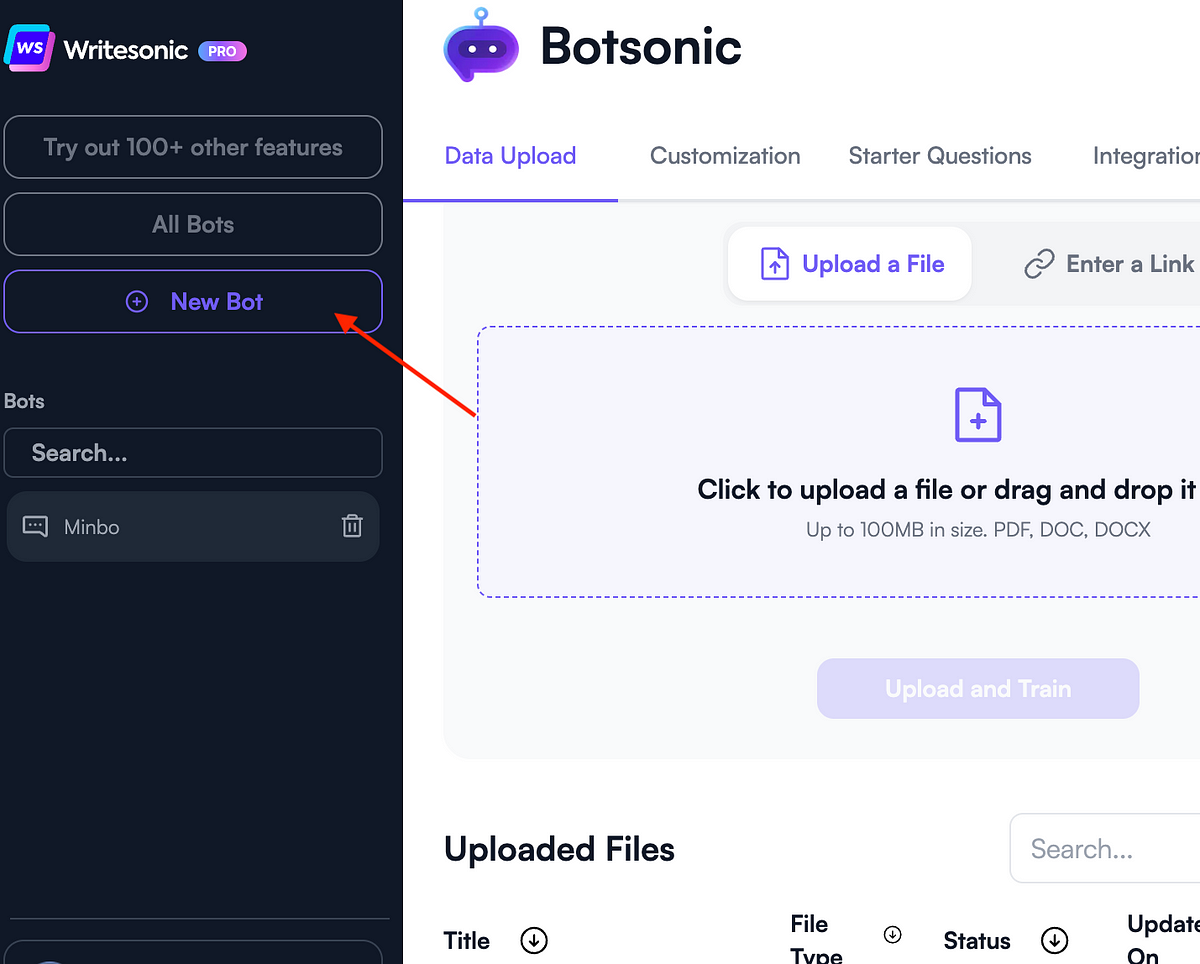
Step 3: Data Upload
To train your bot, you’ll need to head over to the Data Upload tab and upload the relevant links and files to contain your data.

Step 4: Chat Bot Customization
Personalize the appearance of your chatbot to match your brand’s colour scheme and unique details by visiting the Customization section.

Step 4: Copy the Code
Go to the Integrations page and copy the embed script that’s provided by Botsonic.

WordPress Steps to Follow to Make Your Bot Visible
Incorporating the embedded script into your WordPress footer is a breeze with the help of a WordPress plugin.
To make things easier, we’ll be using the WPcode – Insert Header and Footer plugin for this guide.
Step 1: Plugin Addition
In your WordPress dashboard, navigate to the Plugins section and Click to Add New Plugin.

Step 2: Plugin Installation
Search, Install, and activate WPCode – Insert Headers and Footers plugin.

Step 3: Plugin Activation
You’ll go to a page where you can choose the plugin and activate it for the whole network.

Step 4: Accessing Code Snippets
Access your website’s dashboard, find the Code Snippets section and proceed to open it.
Step 5: Script Embedding
Select Header & Footer inside Code Snippets.
You will find an option to paste the embedded script code provided by Botsonic.

Here, you can paste the script code that was earlier copied from Botsonic AI.
Step 6: Saving Changes
After pasting the Botsonic chatbot script, click Save Changes.
Your bot should now be visible on your WordPress website.
Conclusion
You just need to create the Writesonic account and then connect it to your WordPress account.
Once the integration is completed, you can customize the chatbot settings and add it to your website via a plugin.
With Botsonic, you’ll be able to engage your visitors and enhance their user experience on your website.